
🌵 Cactus Rescue Journey – Phase 1: Assessing the Damage & Beginning Recovery
The Cactus Restoration Journey Begins
This weekend marked the start of a new restoration project — one that I didn’t plan for, but couldn’t walk away from. While on vacation, I came across two severely neglected cacti sitting in a rock-filled hotel planter. They had clearly been left outside without proper care, and their condition told the story.
After speaking with the hotel, they allowed me to take them home and attempt a full rehabilitation. This is Phase 1 of their journey: retrieval, assessment, and stabilization.
🌿 Meet the Rescue Plants
🌱 Plant #1 — Columnar Cutting Trichocereus See Expert Care Guide Here 12/3
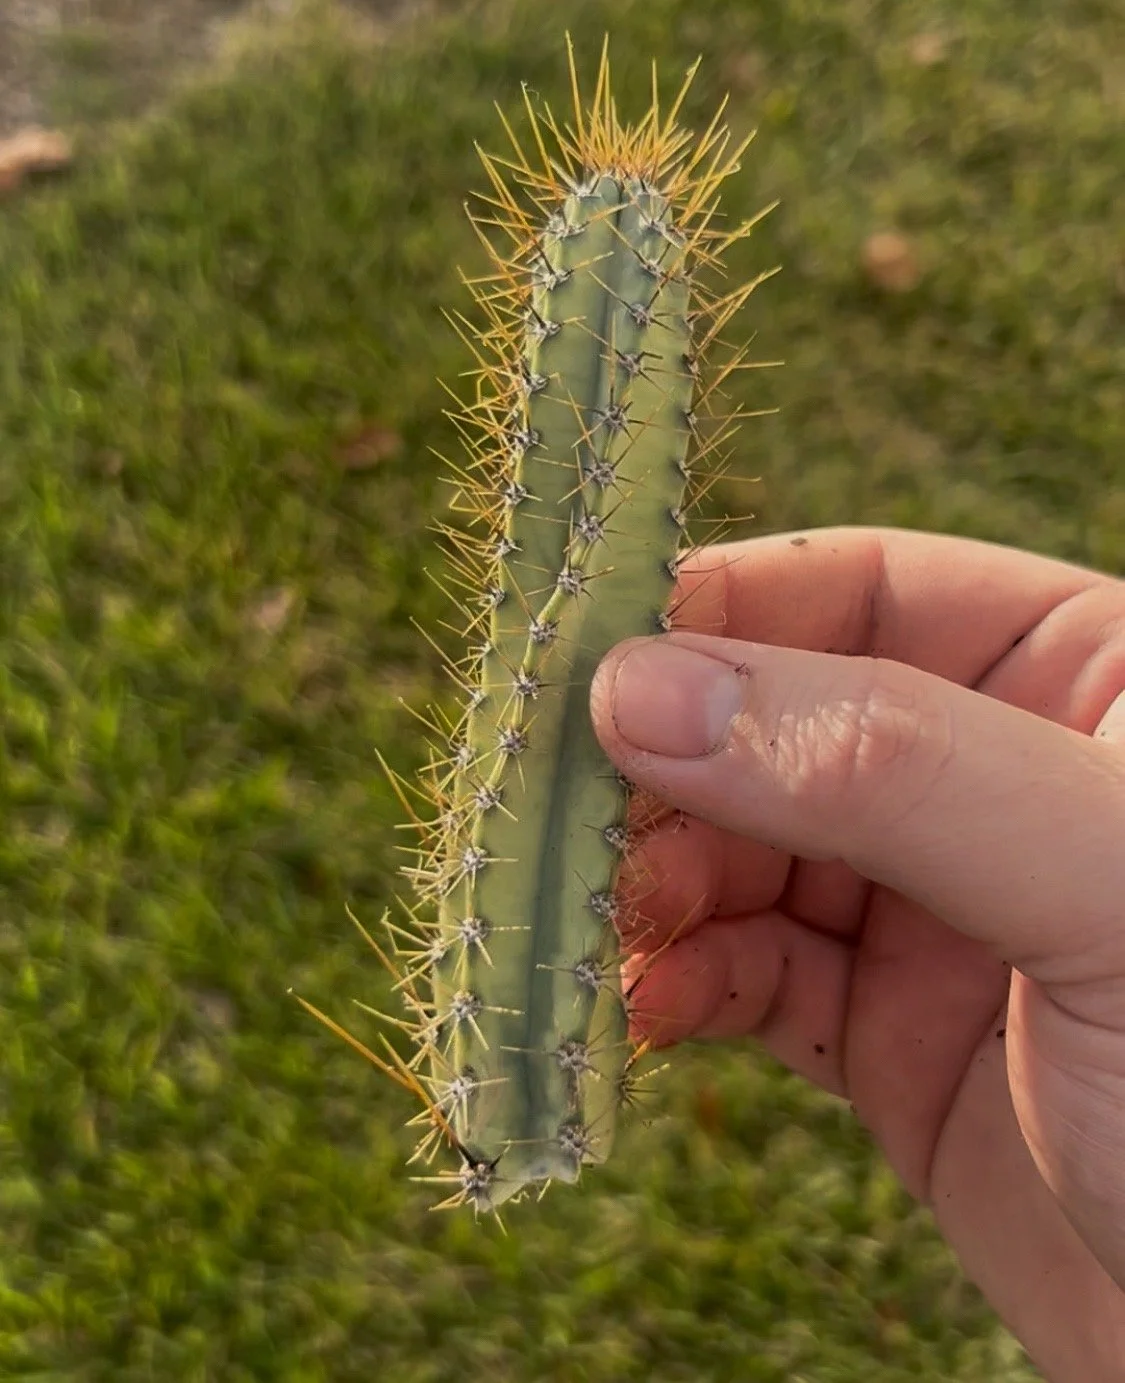
This plant originally had a lower section that was soft, damaged, and showing signs of potential rot. The upper half, however, was healthy enough to save — so the decision was simple:
➡️ Turn it into a cutting and restart the plant from clean tissue.
Initial Condition
Green and firm upper segment
Even rib spacing (typica Trichocereus traits)
Long, golden spines
The base showed compromised tissue
Leaning growth from years of poor conditions
This is a great candidate for propagation.
🌼 Plant #2 — Golden Barrel-Type Rescue (Parodia leninghausii) | See Expert Care Guide Here 12/3
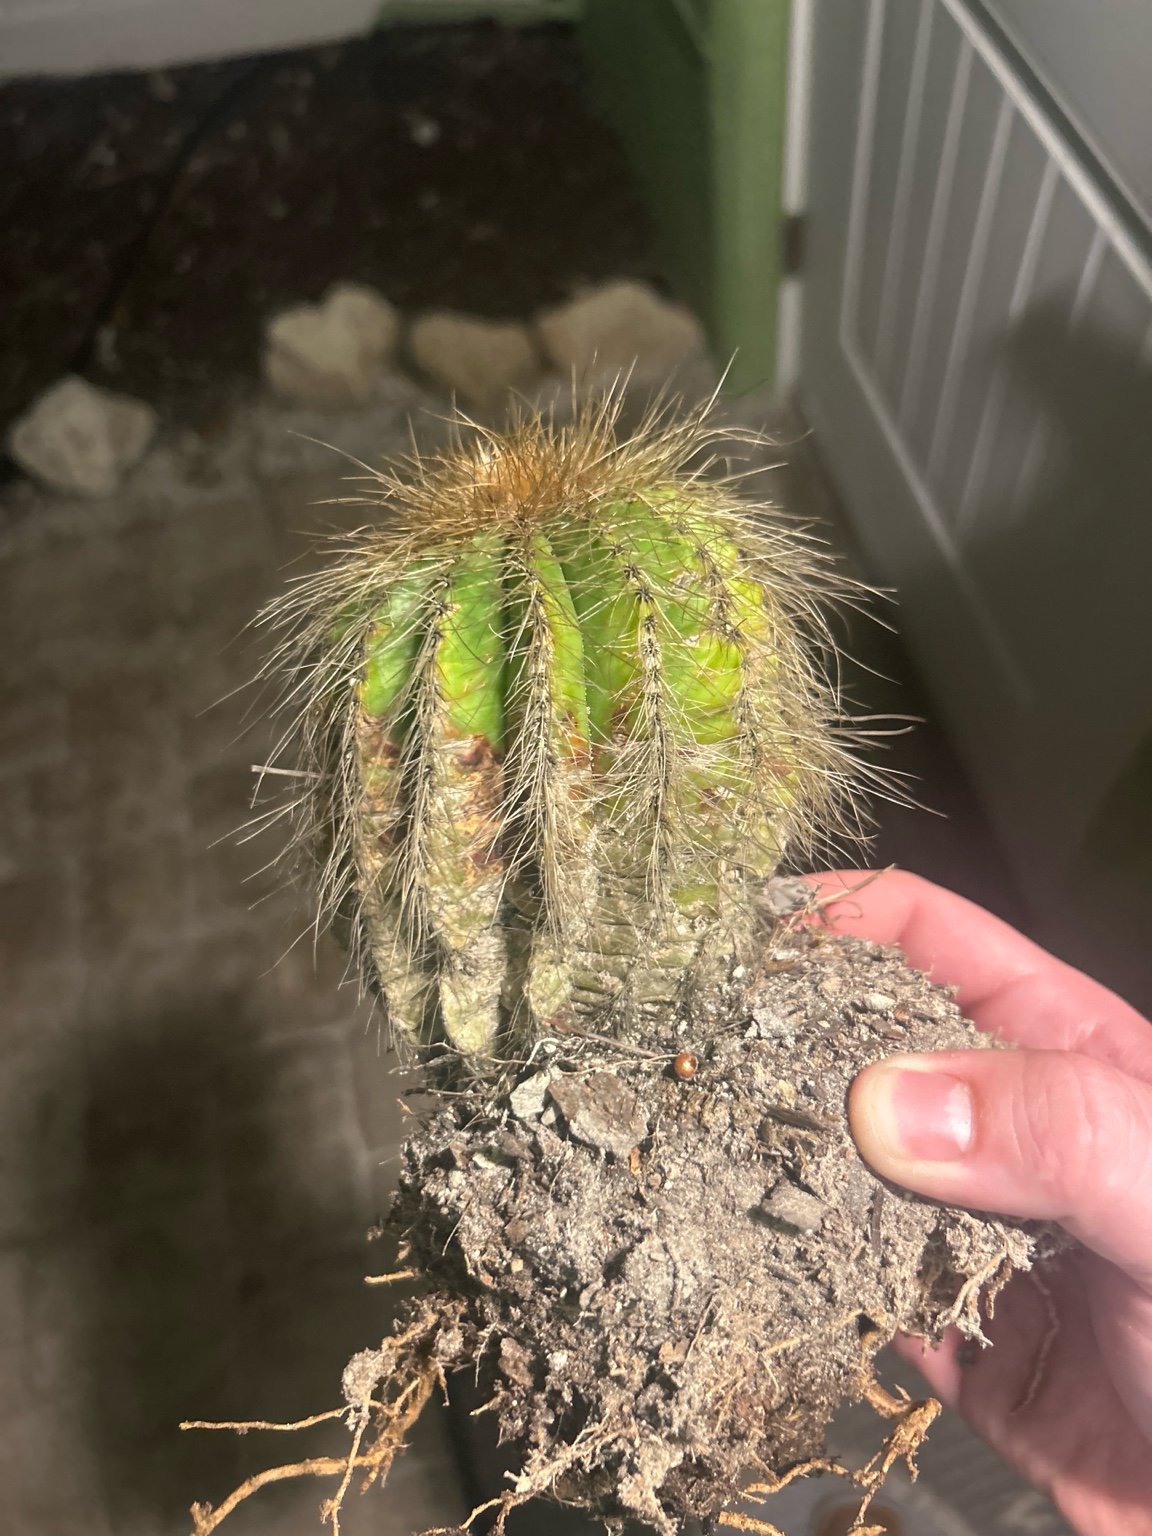
This cactus was planted in compacted, old soil and clearly hadn’t received water or proper sunlight positioning in a long time.
Initial Condition
Discoloration from extended sun stress
Extremely dry, thin roots
Soil compacted tightly around the base
New growth was green, but older growth showed dehydration
Spines were intact but dull
Despite its condition, this plant has excellent recovery potential.
✂️ Phase 1: What I Did Today
Phase 1 is the “stabilization phase.” No watering, no repotting, and no sudden environmental changes. The goal is simply to prepare the plants for a safe recovery.
1️⃣ Plant #1 — Cutting & Callus Prep
Because the base tissue was failing, I removed the healthy upper portion and created a clean cutting.
✔ Steps Taken:
Made a clean, straight cut above the damaged tissue
Inspected the interior (no rot above the cut)
Allowed the cutting to rest in a shaded, dry location
Began the callusing period (3–7 days)
✔ Why This Matters:
A cactus cutting must dry and seal before it touches soil.
This prevents rot and gives the plant a safe starting point for rooting.
Over this week, the cut surface will:
Harden
Slightly contract
Form a leathery protective layer
Once that happens, we’ll move into Phase 2: rooting preparation.
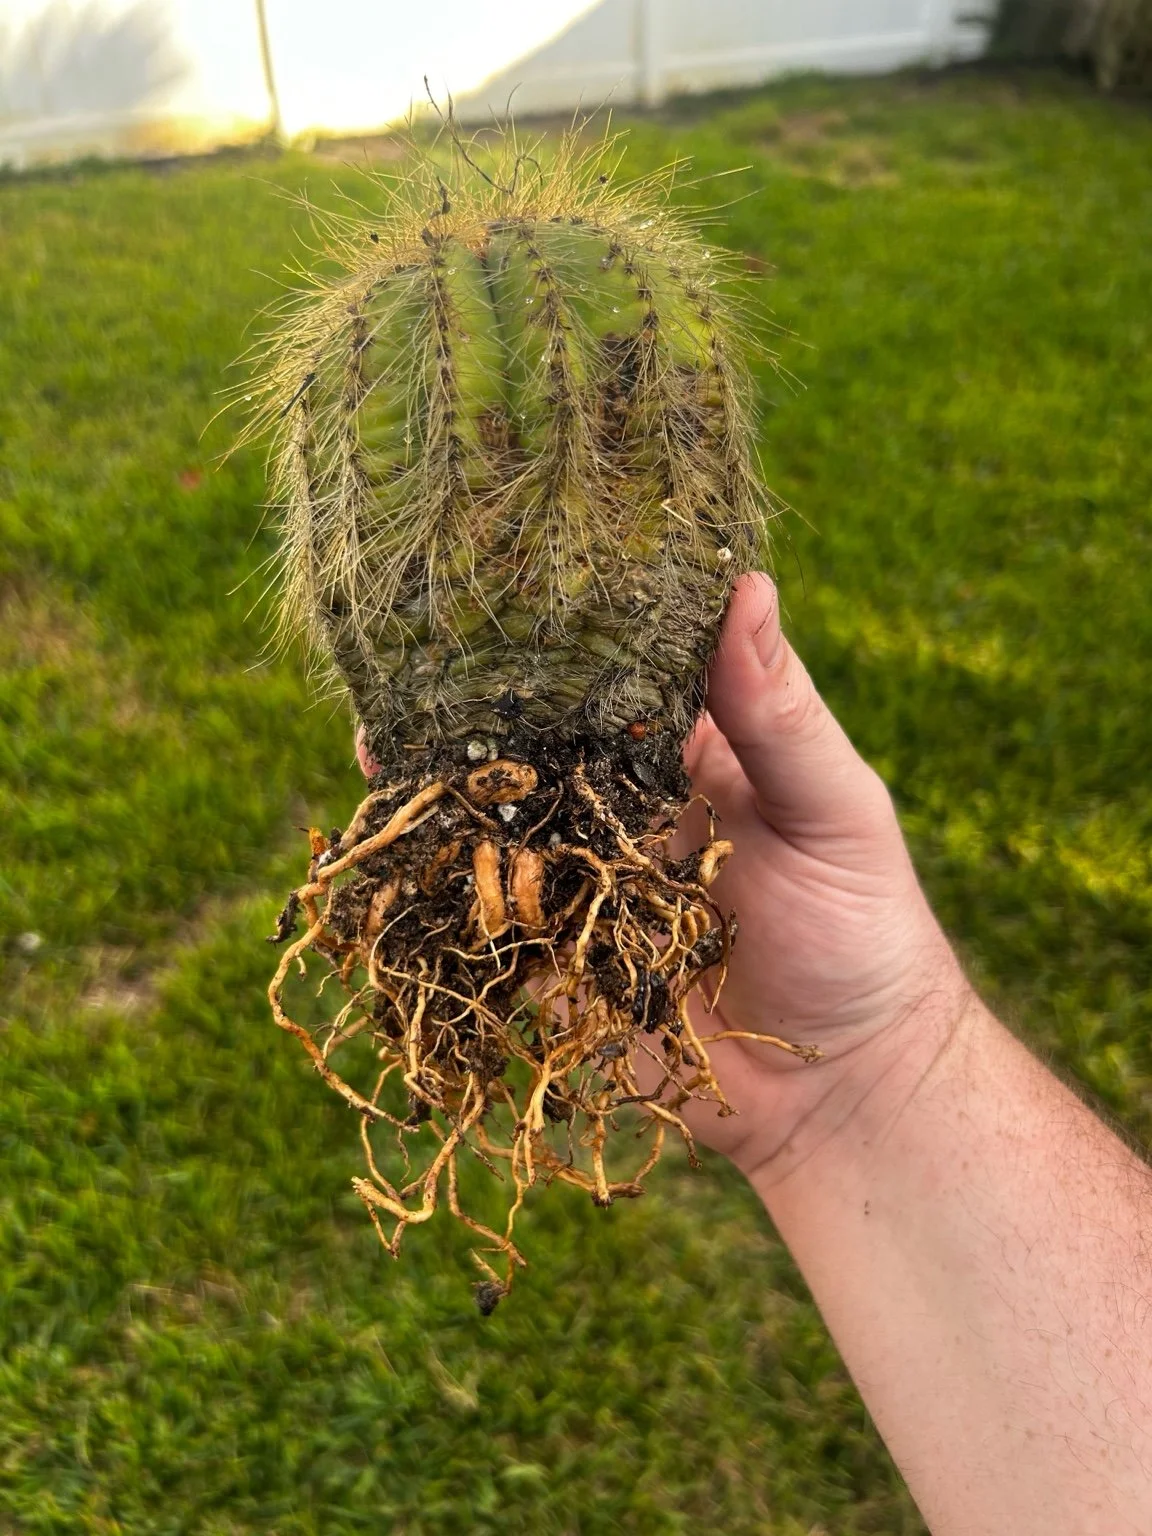
2️⃣ Plant #2 — Root Cleaning & Stress Evaluation
This plant had been growing in soil that had long lost its useful structure. The roots were brittle and dehydrated, but still alive.
✔ Steps Taken:
Removed the old soil completely
Brushed away all compacted material from the root ball
Trimmed thin or dead root strands
Let the plant air-dry and stabilize overnight
✔ Why This Matters:
When a cactus has been neglected this long, the worst thing you can do is immediately water it.
Dry roots need time to:
Recover from handling
Rehydrate slowly
Adjust to fresh airflow
Reset before being placed in new soil
This prevents root shock and rot.
🌞 Why I Haven’t Watered Either Plant Yet
Water + fresh root disturbance = rot.
Even though these plants are dehydrated, watering now would overwhelm their fragile roots. Instead, I’m allowing both plants to:
Rest
Breathe
Callus (for the cutting)
Recover from transport stress
Watering happens in a later phase, once they are stable in fresh soil.
📆 Phase 1 Summary
Here’s where we stand:
Plant #1 — Columnar Cutting
Healthy top section saved
Cutting made
Callusing phase started
Plant #2 — Parodia Rescue
Old soil removed
Roots cleaned
Plant resting before repotting
Both plants are now stabilized and ready for the next steps.