
How I Dealt With Root Rot in My Cactus (What I Learned the Hard Way)
Root rot is one of those things you hear about when you start collecting cacti…
but you don’t really understand it until you see it for yourself.
And by the time you do — it’s usually already too late.
This is exactly what happened to me.
Where It Started
At first, everything looked normal.
The cactus wasn’t obviously dying.
There were no dramatic signs.
But something felt off:
Growth had slowed
The color wasn’t as vibrant
The plant just didn’t feel as firm
Nothing that screamed “problem”…
but enough to make me take a closer look.
The Moment I Knew Something Was Wrong
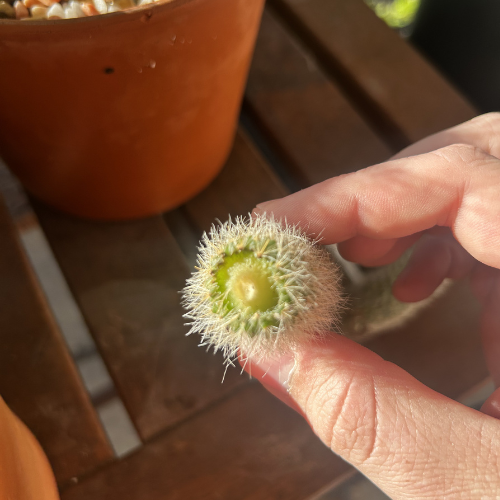
When I finally decided to check the roots, that’s when it became obvious.
The root system didn’t look healthy.
Instead of:
firm
structured
slightly dry
…it was:
dark
soft
breaking apart
That’s when it hit me:
👉 This wasn’t just a watering issue
👉 This was root rot
What Caused It (Looking Back)
After going through it, the cause became pretty clear.
It wasn’t just one thing — it was a combination:
Soil holding too much moisture
Pot not drying fast enough
Watering before the plant actually needed it
Not fully understanding how long my setup stayed wet
👉 None of these alone would have caused it
👉 But together, they created the perfect conditions for rot
What Root Rot Actually Does
This is the part most people don’t realize:
Root rot doesn’t just affect the roots.
Once it starts:
roots lose the ability to absorb water
the plant begins to dehydrate
the base weakens
rot spreads upward
So even though the problem is too much water,
the plant eventually dies from not being able to use water at all.
What I Did Next
Once I confirmed it was rot, I had to act quickly.
Step 1: Removed the plant from the soil
I needed to see the full extent of the damage.
Step 2: Cut away everything affected
Any root that was:
soft
dark
or breaking apart
…had to go.
This is the hardest part —
but leaving any rot behind guarantees it comes back.
Check out this video of the comparison of the root rot vs the healthy root system.
Step 3: Let it dry and callus
After cutting, I let the plant sit out.
No soil. No water.
Just airflow and time.
Step 4: Reset everything
New soil.
Better drainage.
More control over watering moving forward.
The Biggest Lesson I Learned
Root rot doesn’t happen suddenly.
It builds slowly —
from small decisions that seem harmless at the time.
👉 Watering a little too soon
👉 Using soil that holds too much moisture soil mix was set with slightly to much organic mix 50% total
👉 Choosing the wrong pot (or pot size in this instance) the hole on the pot was far to small allowing minimal drainage.
And the hardest part?
You don’t see the damage until it’s already happening below the surface.
What I Do Differently Now
After this experience, everything changed.
Now I focus on:
letting soil fully dry before watering
using faster-draining mixes
choosing pots that match my environment
paying attention to how the plant feels, not just how it looks
I would also use the our cactus watering calendar tool a lot more closely check it out here
🔒 What I Break Down Inside the Membership
This experience is exactly why I built a system around cactus care.
Inside the membership, I go deeper into:
how to prevent root rot before it starts
how to build a soil mix based on your setup
how to know exactly when to water
what to do when a plant starts declining
👉 Because once you understand the system,
you stop reacting — and start controlling the outcome.
🌱 Final Thoughts
Root rot is frustrating — but it’s also one of the best learning experiences you can have as a collector.
It forces you to understand:
how your environment works
how your soil behaves
how your plant actually responds
And once you go through it once…
you’ll never look at watering the same way again.